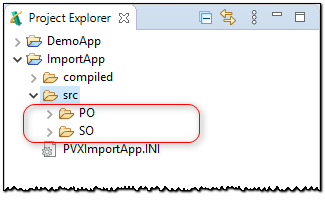
Inside Eclipse, select the menu item File > New > ProvideX Project to open the New ProvideX Project wizard.
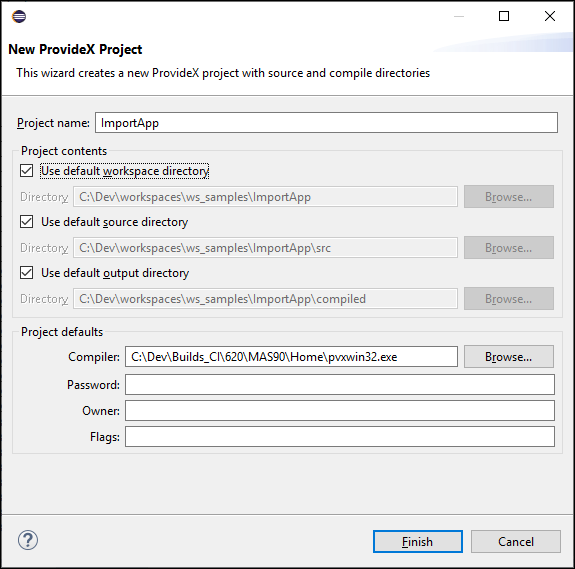
On this page, type "ImportApp" in the Project name field then click Finish. The New ProvideX Project Wizard will create a project called "ImportApp" in the current workspace.
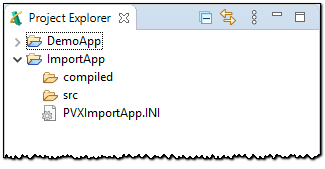
The ImportApp project will initially contain the following resources:
-
An input directory (the ImportApp project's input directory is called "src")
-
An output directory (the ImportApp project's output directory is called "compiled")
-
A ProvideX ini file. The project's ini file name is composed of "PVX" then the project name, followed by the extension ".ini". The ImportApp project's ini file is called "PVXImportApp.ini"
-
There is also a hidden ".project" file used by Eclipse to tell the Workbench that this project is associated with the ProvideX plug-in.
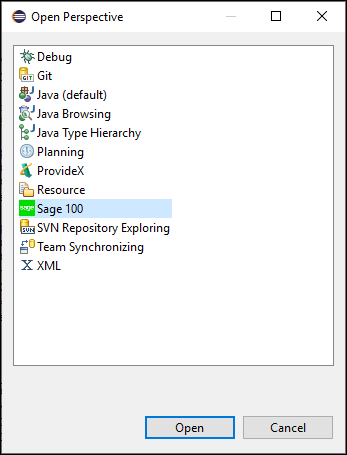
Set the Sage 100 perspective if it is not the current perspective, select the menu item Window > Perspective > Open Perspective > Other... Select Sage 100 from the list, and click OK.
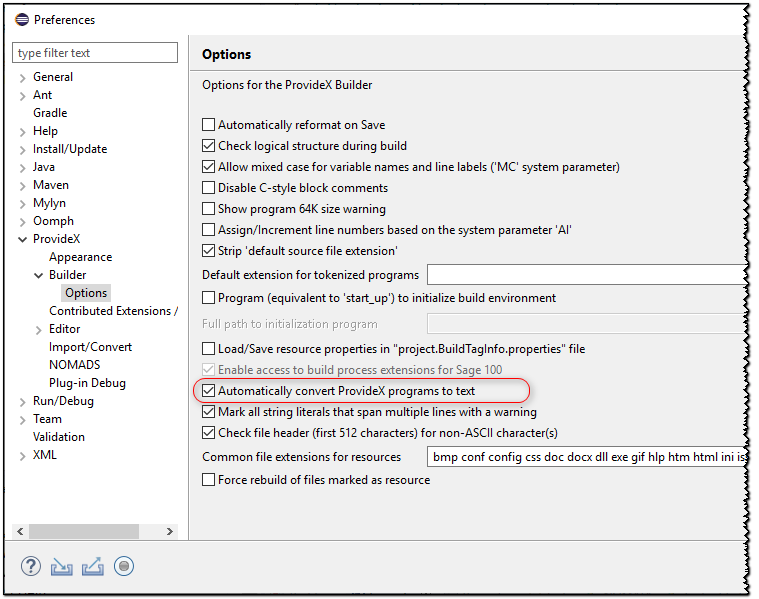
Select the
![]() ProvideX > Builder
> Options
preference page and review / adjust the preferences to the appropriate values for
your environment. Be sure to enable the preference Automatically
convert ProvideX programs to text so ProvideX programs will be converted to text
during the import step below.
ProvideX > Builder
> Options
preference page and review / adjust the preferences to the appropriate values for
your environment. Be sure to enable the preference Automatically
convert ProvideX programs to text so ProvideX programs will be converted to text
during the import step below.
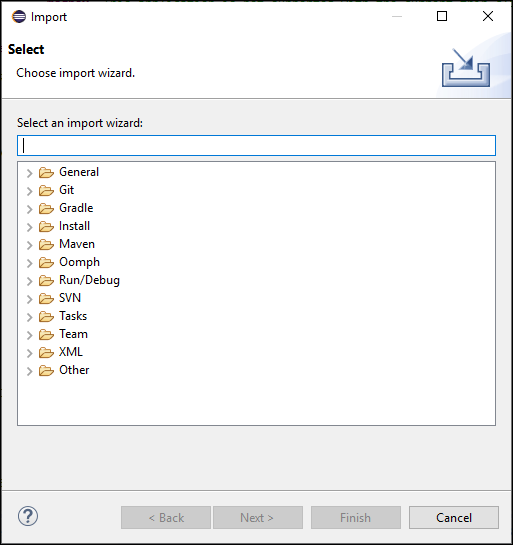
In the Project Explorer view, ensure that the ImportApp project is selected. Right click on the "src" folder and then select the menu item Import....
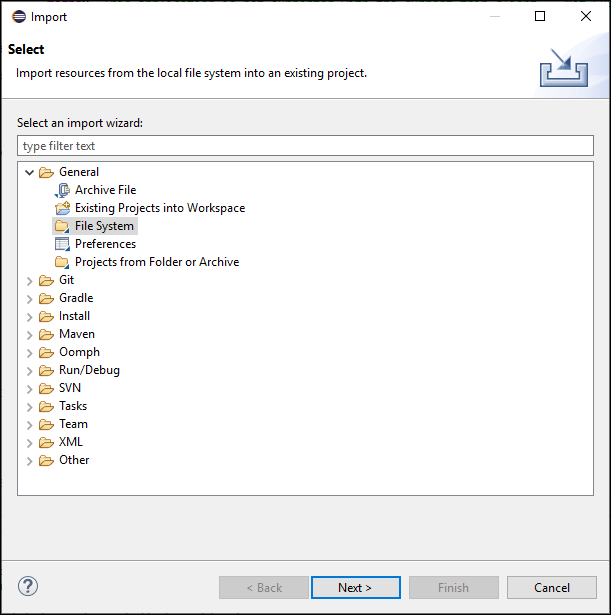
The Import dialogue will appear. Expand General, select File System, and click Next.
Click the Browse button next to the From directory field and browse to the application directory where the programs/files are located. As an example, I will select the "MAS90" folder from a local Sage 100 Standard installation:
C:\Sage\Sage 100 Standard\MAS90
In the Import wizard, select the folders to import. You can select a folder on the left pane to view the individual resources resources that you are importing in the right pane. You can deselect any resource(s) in the right pane you do not want to import at this time.
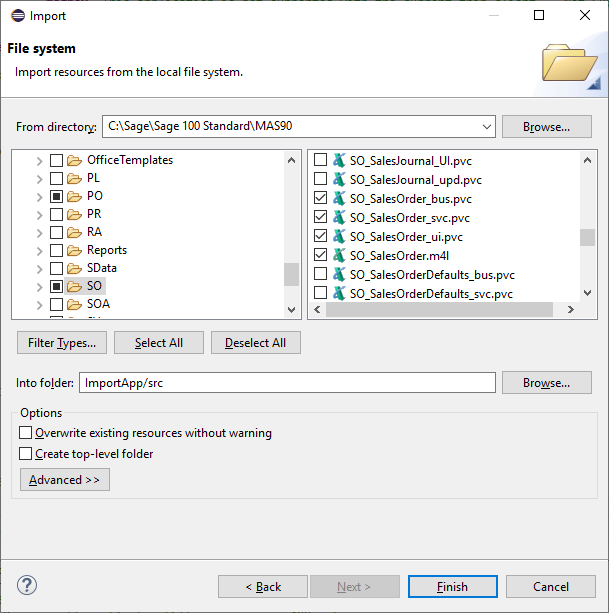
Be sure that the From directory field is the top-most directory in your application that you do NOT want to include in the ImportApp project.
The Into Folder field should indicate the ImportApp Project's source directory:
"ImportApp/src"
Once all information has been verified, click Finish.
In the import progress indicator, notice that the imported resources are compiled as they are imported into the workbench. This is because the Build automatically option is checked on the Workbench preferences page and the Automatically convert ProvideX programs to text preference is enabled on the Builder/Options Preference page.
All sub-folders selected in the left pane will be created in the project.
