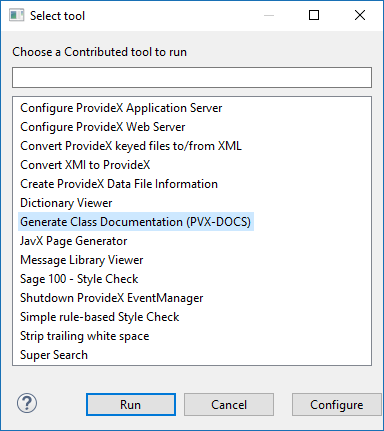
This contributed tool requires that a resource in the source folder of a ProvideX project be selected in the 'Navigator View'. This resource can be the source folder or any resource in that folder (or a sub-folder).
The PvxDocs tool is selected from the list of available tools and the "Run" button is pressed to begin processing the selected folder (and sub-folders) or resource.
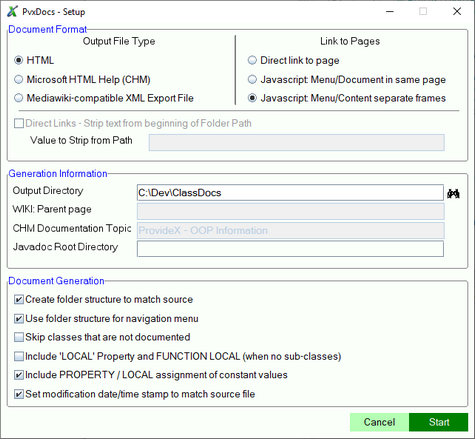
A setup panel will display to enable fine-tuning of the documentation to be generated.

This panel allows adjustments to be made to the default information entered through the configuration panel:
 |
Set the project-specific property pvxdoc.Javadoc_Root to set the default value of 'Javadoc Root Directory' used when generating PvxDocs for the project. |
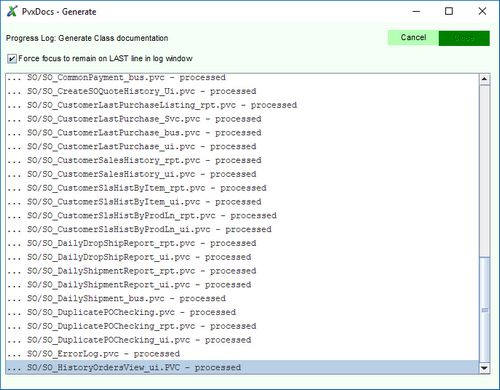
A new view will be displayed to track the progress of the documentation generation
process. While the source files are processed, click the 'Cancel' button to abort
the document generation process.
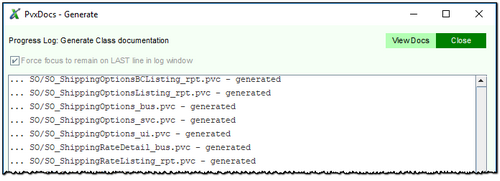
Once the process has been completed, click the 'View Docs' button to view the
generated documentation, or click the 'Close' button to close the view.
After closing the log window, Viewing the generated documentation will depend on the output format that was chosen on the setup panel for the document generation process:
In a browser, simply open index.html to view the navigation menu and select the class documentation to display.
 |
CORS (Cross Origin Resource Sharing) will block loading of page content when using a modern browser and attempting to view documents generated using the 'Same Page' option for linking to documents unless the files are hosted on a web server. |
On a MS-Windows machine, simply open the pvxdoc.chm file; a CHM viewer is required to open the file on machines using other operating systems.

|
After the CHM file is saved on a MS-Windows system, the security settings
for the file must be adjusted to enable the content to display. In MS-Windows
Explorer:
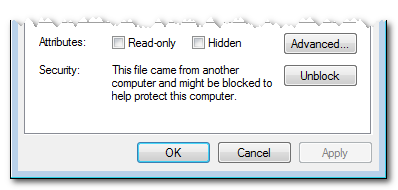
|
The documentation generation process will create at least two files named in the format 'PvxDoc_WikiExport_###.xml' and place them in the output folder.
The highest numbered file contains the parent page and sidebar navigation content and should only be imported when updating ALL content for a topic.
First, log in to the wiki as a user who is authorized to create (or modify) content and import pages.
The export files must be imported into the wiki site before it can be viewed.
The time to complete the upload will depend on the size of each file.
 |
If the generated documentation is for a subset of the classes and is intended to update existing content, or add missing (or new) content, the highest numbered file should NOT be imported - it will replace the content of the parent page and sidebar with the partial content. |
When the generated documentation is for a subset of the classes, the parent page and navigation sidebar must be updated manually to merge the new content with the existing content.
After all of the files are imported (updated), go to the parent page to view the new content.